Learn How to Install the Veeam Software Appliance (v13) in About 6 Minutes

With the release of v13, Veeam has introduced the Veeam Software Appliance (VSA), a pre-hardened, Linux based deployment option that simplifies standing up your backup infrastructure. If you want to see exactly what the deployment looks like without spending an hour reading documentation, I recorded a straight to the point walkthrough.
From booting the ISO to hitting the login prompt, the whole learning process takes about six minutes.
Pre Flight Checklist
Before you boot the installer, you need to prep your VM. The VSA requires two pre-allocated disks:
- One for the OS
- One for the default backup repository
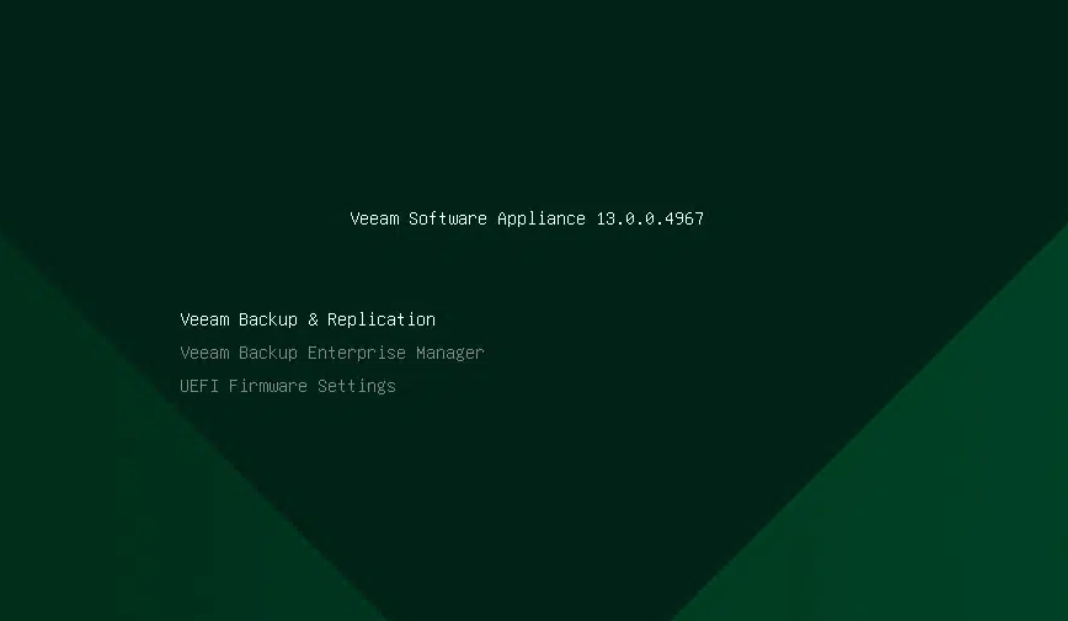
The Installation Process
- The Fresh Install: Booting up the Veeam Software Appliance ISO gives you the option for a fresh install. Once confirmed, the system automatically wipes the disks and begins laying down software. There's zero manual partition management required here—the installer handles it.
- The Configuration Wizard: After the initial OS installation completes and the VM reboots, the VSA drops you into a text-based configuration wizard. This is where you establish the identity of your appliance.
- Networking & Time: You'll be prompted to configure your hostname, set up your network adapter with a static IP and gateway, and define your NTP servers so everything stays in sync.
- Security & Access: The final phase of the wizard has you set the primary
veeamadminpassword. Crucially, the VSA forces you to configure MFA right out of the gate. You simply display the QR code in the console, scan it with your preferred authenticator app, input the code, and you're locked in.
Once you click finish and the state integration completes, you are ready to start "Veeaming."
Watch the full 6-minute deployment here: [YouTube Video]

